
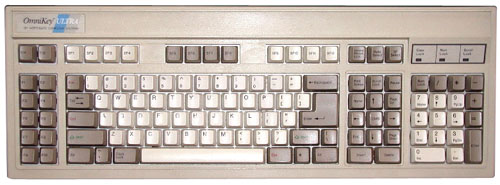
Old Keyboard
Over the years we have used many types of keyboards. Early years they were the bulky ones with klunky keys that still made a “klapaty-klap” noise. In fact I still use a later version of that for my daily work, never needed a reason to upgrade.
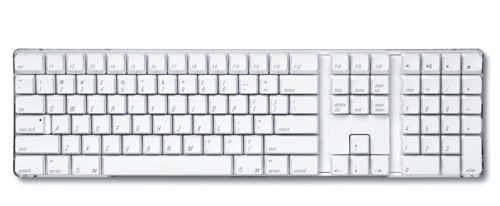
Apple keyboard – Early 2000
Over the years they got quieter and sleeker. The keys got smaller and their aesthetic appeal increased. With that, the problem of dirt and grime getting stuck in them got minimized as well. (Here’s a step-by-step guide to clean the old one)
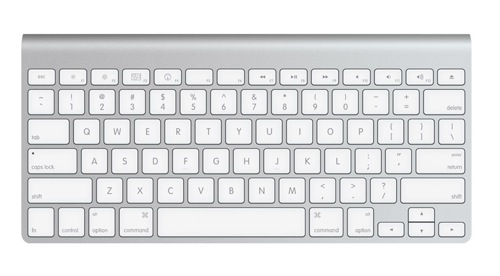
Apple keyboard – Current
Next to come were the backlit ones where each key was illuminated even in absolute darkness. Apple’s Power Book was one of the first ones to have them and we all drooled over it for years.
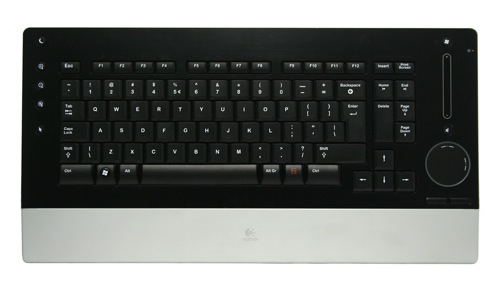
Logitech diNovo Edge
Of the recent fore runners have been the Optimus Maximus and Tactus . Featuring full and functional backlit displays under each key and a complete touch screen with customizable layout. They are made in a way to customize your keyboard for every need imaginable starting from an Video Editing Layout to a Photo Editing Layout.
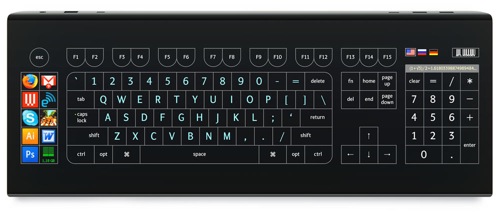
Optimus Tactus Concept
It is possible that in future, the ultimate keyboard will eventually be a touch screen that is infinitely customizable for almost everything under the sun, much like an iPad, used dedicatedly as a keyboard.
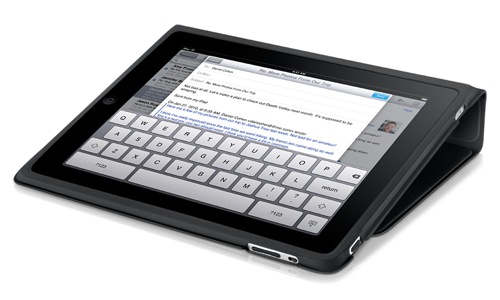
i-Pad Keyboard Layout
If made the correct size and shape, this would probably be the ultimate keyboard. And yes, carry it off wherever you go with just the files you need for the day.


